


Google Tag Gateway – 30 minutes wasted and no benefit! Yes, many colleagues quickly and successfully wrote that GTG is a solution to the problem of transmitting the most comprehensive analytics. Some even wrote that it is a solution to the problem of transmitting data through the limitations of consent mode. We immediately decided to double-check this, because the issue of "consent mode" is very pressing for us, as we work extensively in Europe with contextual advertising and analytics.
Google Tag Gateway (GTG) transmits analytics data through a Cloudflare proxy to analytics servers. This is similar to server-side tracking, but with extremely quick setup and limited functionality.
While server-based tracking allows for modification of cookies and enrichment with specific data and records, here we simply transmit data in parallel, bypassing Google's servers.
How can Google Tag Gateway be useful?
- data transfer bypasses users' ad blockers;
- obtaining a more accurate and complete picture of the effectiveness of advertising campaigns.
What makes Google Tag Gateway unique?
- analytics services are actually hosted on your domain, which allows you to bypass ad blockers;
- ad blockers block data transfer through Google servers, but here, it's transmitted through Cloudflare, which hosts a virtual folder on your website. This means the analytics codes are located on your website, which ad blockers can't block.
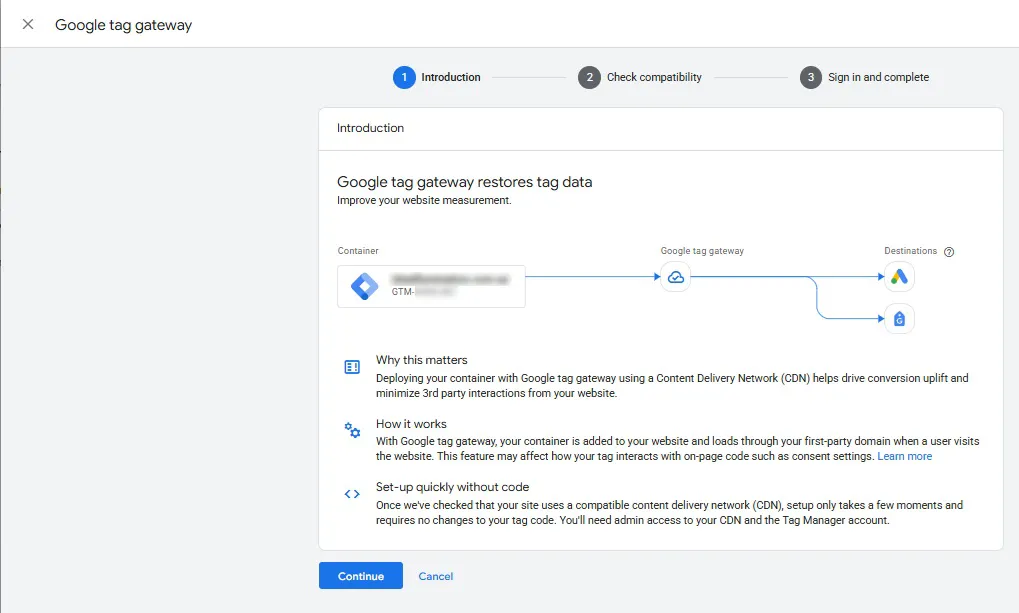
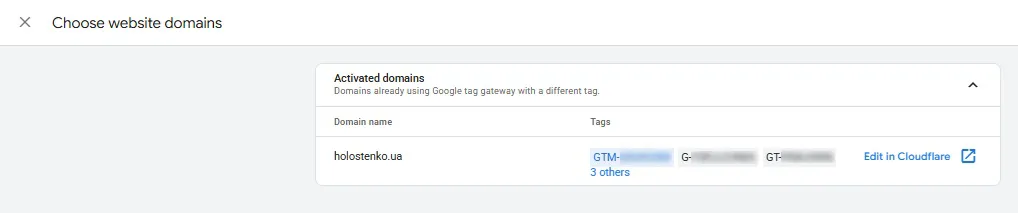
Visually, Google Tag Gateway works as follows:

According to the marketing community, setting up Google Tag Gateway allows you to receive 11% more data than before.
WARNING! This figure hasn't been verified. It's simply information posted online, meaning it's unconfirmed rumor. There's no need to verify this data yourself, but we've gone through this process to tell you how to set up Google Tag Gateway.
How to set up Google Tag Gateway?
- Connect your website to Cloudflare;
- Enter new domain NS settings at your domain registrar;
- Sync your Google gateway with Cloudflare.
➊ Connecting your website to Cloudflare
To connect your website to Cloudflare, simply follow these steps:
👉 Register a Cloudflare account.
👉 Add your domain to Cloudflare.


👉 Select a tariff plan.

👉 We receive new NS servers that need to be registered in our domain.

➋ Editing domain NS settings
Go to your domain registrar, open your domain, and update your NS servers.

Once the NS settings are updated, you can proceed to configuring the Google gateway on the Google Tag Manager side. Otherwise, you won't be able to synchronize domain names. This is exactly what you need to do.
➌ Google Gateway and Cloudflare sync
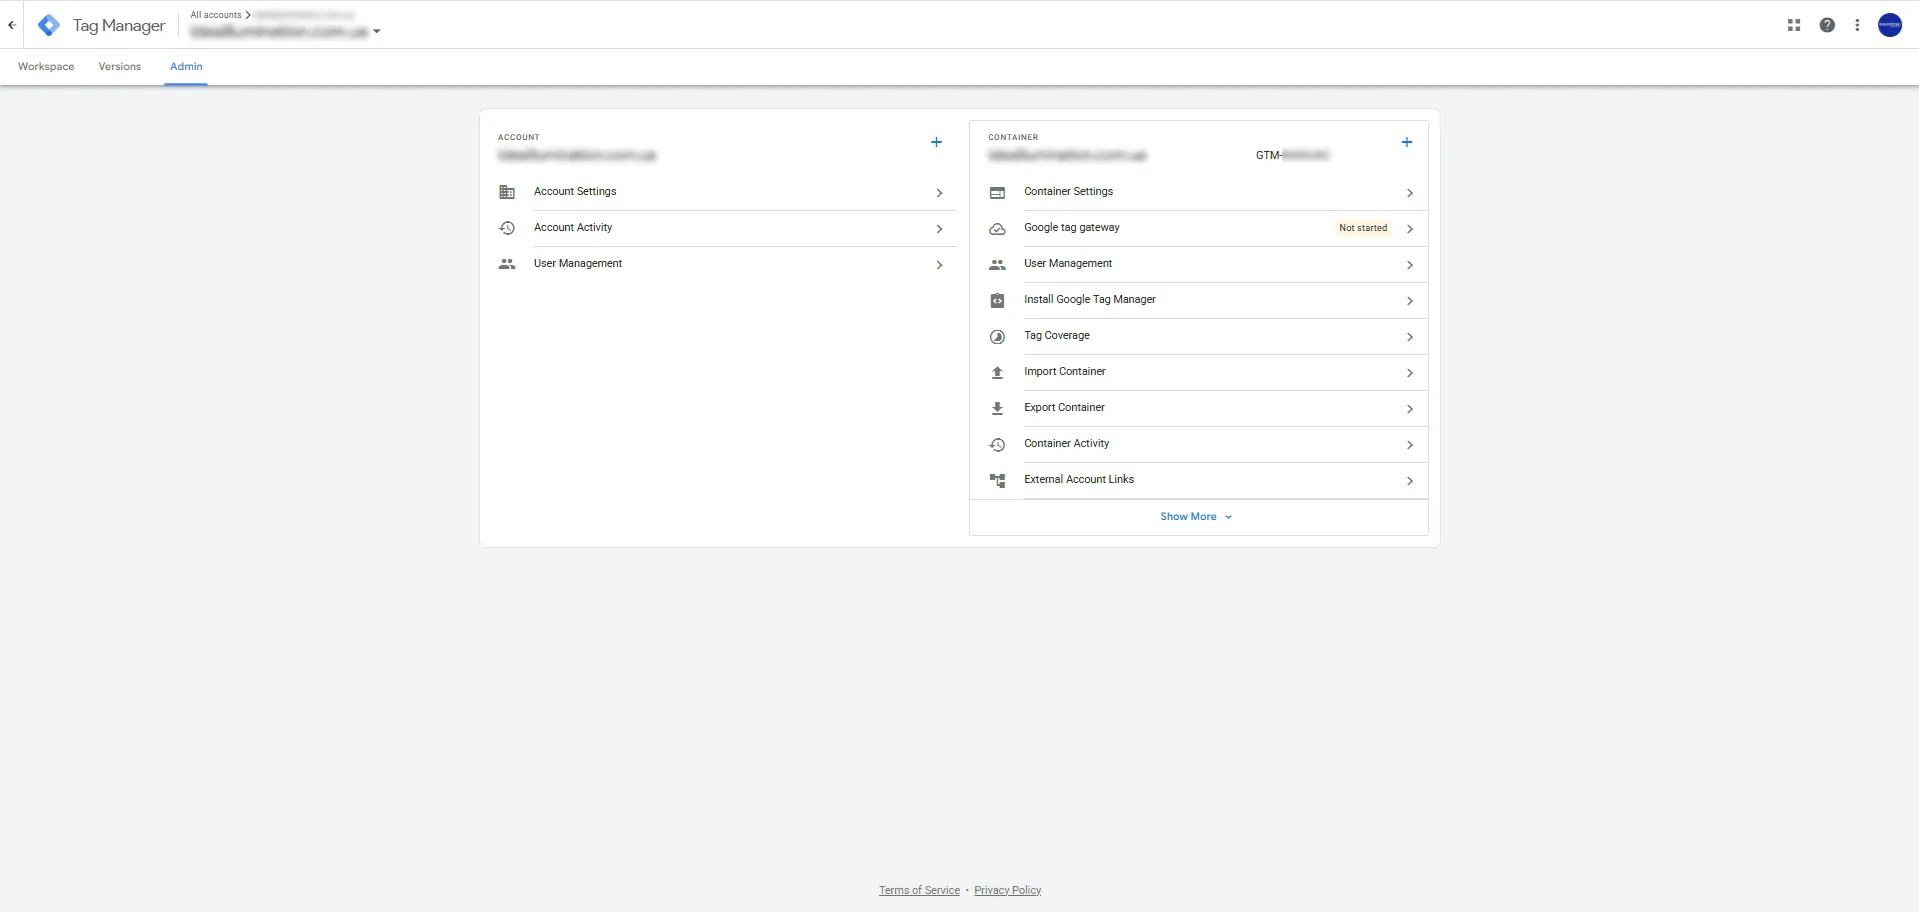
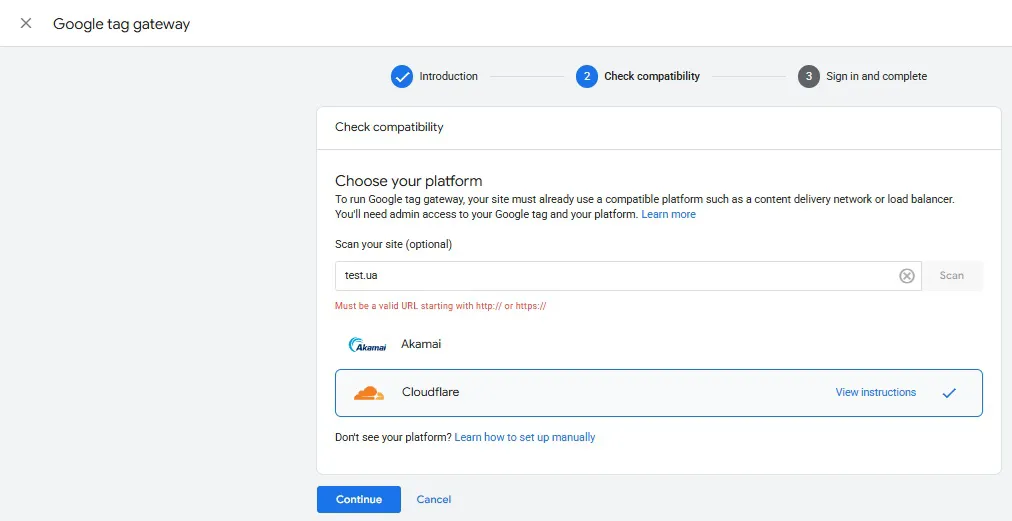
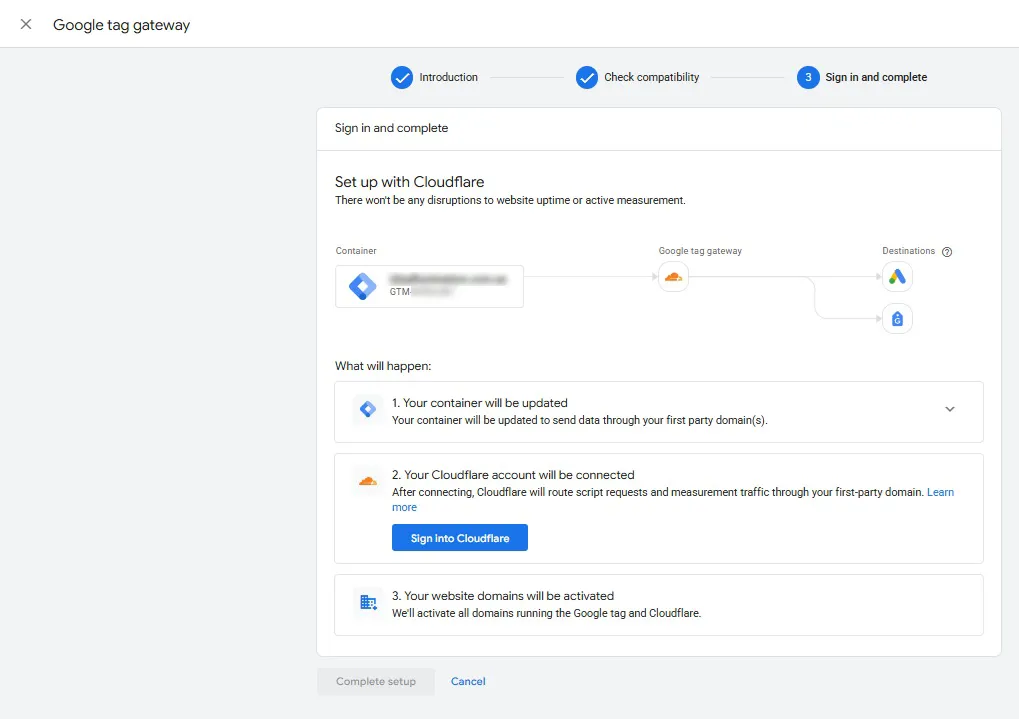
Go to Google Tag Manager administration and select the “Google gateway” option.
Select “Cloudflare”, log in, and select a domain.
This is essentially the setup. But the question always arises whether everything is working correctly.
How do I check if Google Tag Gateway is configured correctly?
Once everything is set up, within 2 hours the “Google gateway” field in your Google Tag Manager will show the status “active”.
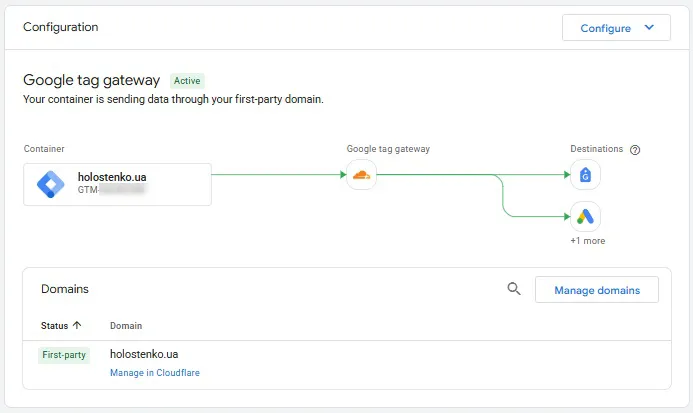
In Cloudflare, the domain will also have the status “active”.

You can also check if Google Tag Gateway is working by:
Go to Tag Assistant ➔ Check the Google Analytics 4 tag loading ➔ Tag details ➔ Sent messages.
If configured correctly, you will see that events are sent not to the Google Analytics 4 server, but to your website folder.
URL
/uguo/ag/g/c
It's also important to clarify that not all data will be sent through your website. In our experience, this only applies to events, which is what all marketers are interested in.
Ad blockers see that the events are not related to Google and skip sending the data. This is the main purpose of setting up Google Tag Gateway.
It's also worth noting that Google Tag Gateway isn't a solution to bypass "consent mode," as some claim. It's been tested and verified.
 Order a service